

Draw a frame
Frames are Wonder’s boxes. A screen, a card, a button and a plain rectangle are all frames. Frames hold other layers, and become HTML elements when you take your design to code.- Click Frame in the toolbar, or press F (or A).
- Drag on the canvas. A click without dragging makes a 100 × 100 frame.
Start from a size preset
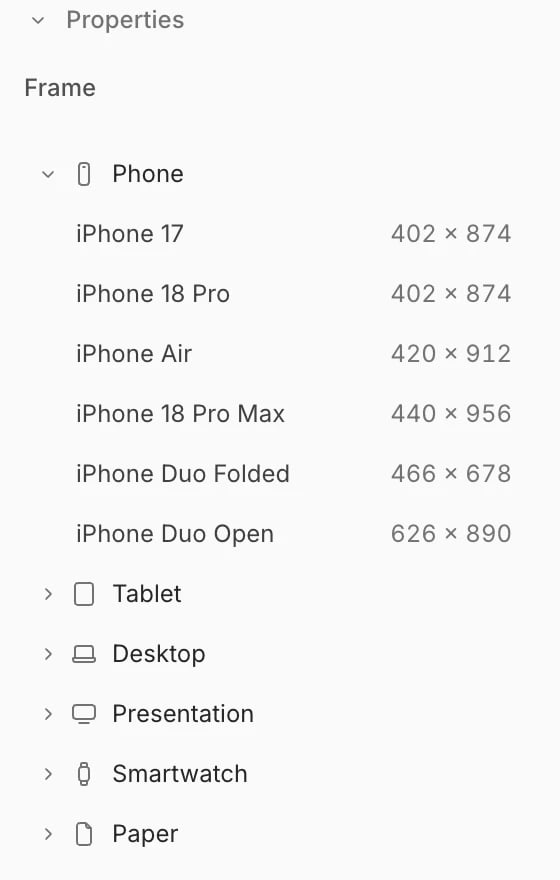
While the Frame tool is on, the Properties panel shows a Frame section with sizes for common devices and formats. Click a category to open it, then click a size. Wonder adds a frame of that size, named after it, in free space on the canvas and zooms to it.
Each size shows its width and height in the list.
Frame a selection
Wonder has no groups. To keep layers together, put them in a frame:- Frame selection (⌘G) wraps the selected layers in a new frame that fits around them. The new frame has no fill and doesn’t clip. When an auto layout can keep the layers exactly where they are, Wonder adds one that hugs them.
- Unframe selection (⌘⇧G) removes the selected frame and leaves its layers in its place.
Name and label frames
Each frame at the top level of a page shows its name above it on the canvas. Click the name to select the frame, drag it to move the frame, and double-click it to rename the frame. Once such a frame has layers inside it, a click inside it selects what’s under the pointer, never the frame itself. To select the frame, click its name, or its row in the Layers panel. To hide a frame’s name, hover its row in the Layers panel and click Hide label, or right-click the frame and choose Hide label. Show label brings it back.Work with pages
A file can have up to 25 pages. The Pages panel at the top of the left sidebar lists them. With the left sidebar closed, click the page name at the top left to switch pages, or search them with Search pages….- Add a page. Click + (Add page) in the Pages panel, or run New page from the command palette. Wonder names it “Page 2”, “Page 3” and so on.
- Rename a page. Double-click it, or right-click it and choose Rename.
- Reorder pages. Drag a page up or down the list.
- Delete a page. Right-click it and choose Delete, then Delete page. This removes the page and its layers for everyone who can open the file. You can undo it with ⌘Z until you close the file. A file always keeps at least one page.
- Move layers to another page. Right-click them and choose Move to page.
Change the page background
Click an empty spot on the canvas so nothing is selected. The Properties panel shows a Page section with the background color. Click the color to change it, or click the eye to hide the background.Use the Layers panel
The Layers panel in the left sidebar lists everything on the page as a tree: each frame with the layers inside it.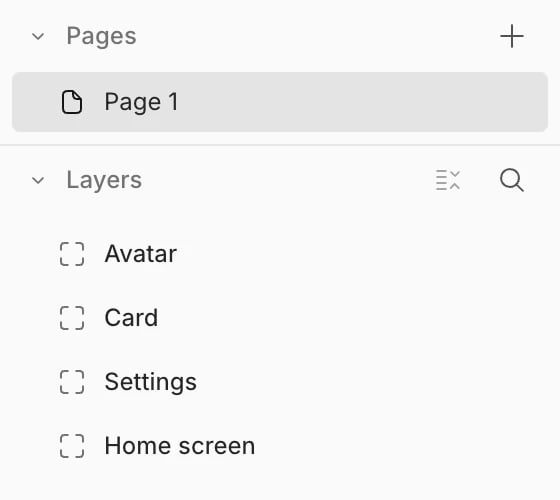
- Select. Click a row. Shift-click selects a range, and ⌘-click adds or removes one layer. Hovering a row highlights the layer on the canvas.
- Open and close. Click the arrow next to a frame. ⌥L closes every frame except the ones around your selection.
- Zoom to a layer. Double-click its icon.
- Move layers. Drag a row above or below another row, or onto a frame to put it inside. Hold a dragged row over a closed frame to open it. Press Esc to cancel.
Hide and lock layers
Hover a row to show its buttons:- Hide layer hides it on the canvas. Press ⌘⇧H to hide or show the selection.
- Lock layer keeps it from being selected or moved on the canvas. Press ⌘⇧L to lock or unlock the selection.